The Monthly E-Bike Maintenance Checklist
An e-bike wears faster than a bicycle. It’s heavier, it’s faster, and the motor puts torque through the chain, the rear wheel and the dropouts that no pair of legs ever did. Most failures give plenty of warning, though, and fifteen minutes a month catches nearly all of them.
This is the routine: a one-minute check before you ride each week, a fifteen-minute pass once a month, and a short list for the bike shop once a year.
There’s one product link on this page, plus links to our own guides. abouteBikes is funded by affiliate commission. As an Amazon Associate we earn from qualifying purchases, at no extra cost to you. How we make money.
Need replacement parts? See our tire picks and battery and charger picks →
Every week: one minute
- Tire pressure, with a gauge. Soft tires cause pinch flats and cost range on every ride.
- Squeeze both brakes. Firm, and the lever shouldn’t come near the handlebar.
- Lights on, front and back.
That’s it. The pressure check does the most good. A floor pump with a readable gauge, like the Topeak JoeBlow, makes it a thirty-second job.
Every month: fifteen minutes
Take the battery off first. It makes the bike lighter to handle and means nothing can switch on while your hands are near the wheels.
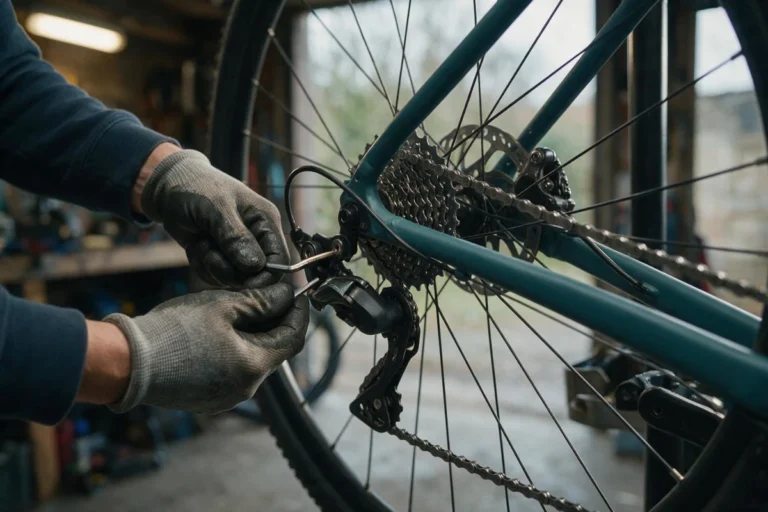
1. Clean and lube the chain
Wipe the chain with a rag while turning the pedals backward, put one drop of chain lube on each roller, then wipe off the excess. A dry, gritty chain wastes energy the motor quietly makes up, and it wears the sprockets with it.
Check chain wear with a cheap chain checker. Replace the chain when it reaches the wear limit for your drivetrain, usually 0.5 to 0.75 percent. On a mid-drive, check every month without fail. Motor torque wears chains quickly, and a chain replaced on time saves the cassette and chainring.
2. Brakes
- Look through the caliper at the pads. Replace them when the friction material is down to your brake maker’s minimum, often around 0.5 to 1mm. Heavy e-bikes eat pads.
- Spin each wheel and listen. A rhythmic scrape means a rubbing pad or a bent rotor, which costs both braking and range.
- Check the brake cut-off switches work. Squeeze a lever gently while pedaling in a stand, or on a quiet road at low speed. The motor should stop assisting immediately.
3. Tires
Turn each wheel slowly and look at the tread. Pick out embedded glass and flint before it works through. Look for cuts, bulges in the sidewall and a squared-off center, which means the tire is near the end. Rear tires on e-bikes wear much faster than fronts. Our tire guide covers replacements, and if you’re changing a rear tire on a hub-motor bike, read our guide to removing the wheel first.
4. Wheels and spokes
Squeeze pairs of spokes around each wheel. They should all feel similarly tight. Hub-motor wheels are heavy and stress spokes badly, and a loose spoke becomes a broken spoke. Spin the wheel and watch the gap to the brake pads for wobble. Loose or broken spokes are a bike shop job.
5. Bolts
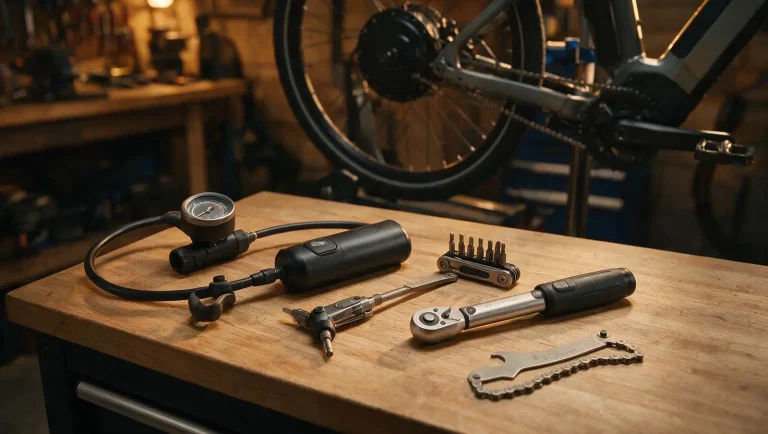
Vibration loosens bolts on an e-bike that stay put on a bicycle. Check the stem, handlebar clamp, seatpost, rack bolts, fender stays, and the axle nuts on a hub-motor wheel. On a mid-drive, check the motor mounting bolts. Tighten them to the torque printed on the part or in the manual, not by feel. Alloy threads strip easily, and a torque wrench costs less than the first thing it saves.
Covers stem, bars, seatpost and rack bolts. Hub motor axle nuts usually need a larger wrench with a higher range, so check your manual’s figure.
6. Battery and charging port
Look over the pack for cracks, swelling or scorch marks around the contacts. Wipe the contacts and the charging port with a dry cloth. Check the charger cable for damage. Any swelling, heat or smell means stop using it. Our guide to charging safely lists the warning signs and what to do.
7. Wiring and connectors
Follow the cables from the handlebar to the motor. Look for chafing where they rub the frame, cables pulled tight when you turn the bars, and connectors that have worked loose. On a hub-motor bike, check where the motor cable leaves the axle. It should be a gentle loop with no kinks or cuts. In winter, look for white corrosion from road salt.
8. Everything bolted to the handlebar
Lights, the display, phone mounts and bells all rattle loose. Check each one is tight and pointing where it should. A front light aimed too high dazzles drivers, and one aimed too low shows you nothing. A phone mount that’s crept loose is how phones end up in the road. Our phone mounts guide covers which designs stay put.
9. Your lock
Locks seize, especially in winter. Put a little lock lubricant in the keyway and work the key a few times. A lock that won’t open in the cold is annoying. One that won’t close means an unlocked bike. Our lock guide covers the locks worth owning.
Washing it
Bucket, sponge, mild bike cleaner and a gentle hose. Never a pressure washer, which drives water past seals into bearings, the motor and the connectors. Take the battery off first, dry the bike afterward, and relube the chain once it’s dry.
Once a year: the bike shop
Some jobs need tools or experience most owners don’t have. Once a year, or every couple of thousand miles, have a shop:
- True the wheels and tension the spokes.
- Bleed hydraulic brakes, or replace cables on mechanical ones.
- Check the headset, bottom bracket and wheel bearings for play.
- Read the battery’s health and check for firmware updates, where the bike’s system supports it.
The checklist
| Weekly | Tire pressure with a gauge. Both brakes squeezed. Lights on. |
| Monthly | Chain cleaned, lubed and checked for wear. Brake pads and rotors. Tires for cuts and glass. Spokes squeezed. Bolts torqued. Battery, charger and contacts inspected. Wiring and connectors. Handlebar accessories tight. Lock lubed. |
| Yearly | Shop service: wheels trued, brakes bled or recabled, bearings checked, battery health read. |
The payoff
Most of what strands e-bike riders shows up here weeks in advance: a soft tire, thin pads, a stretched chain, a loose axle nut. Catch them on the garage floor and you fix them for the price of a part. Miss them and they tend to fail together, on a wet evening, a long way from home. A well-kept bike also goes further on the same charge, which our guide to getting more range covers.
Stocking up on spares?
Our picks for the parts that wear out or let you down first: puncture-resistant tires, and spare batteries and chargers.
How we choose
This page is a routine rather than a product list. It covers what applies to almost every e-bike. Your bike’s manual has the torque figures, service intervals and any model-specific checks, and it wins wherever it differs from this page.
If anything on the list turns up a problem you’re not confident fixing, especially brakes, wheels or anything electrical, take it to a bike shop.