Commuting by E-Bike: The Complete Setup for Riding to Work
An e-bike commute works when nothing about it depends on luck. The battery has margin, the lights are charged, the lock is on the bike, and the rear tire doesn’t go flat at 7:40 on a Tuesday. Almost all of that gets decided in the week before your first ride.
This is the setup, in roughly the order it tends to go wrong. It assumes you already have the bike. If you don’t, start with our e-bike roundup, where the Aipas C1 is the one that arrives with a rack, fenders and lights already fitted.
Most links on this page go to our own product guides, which carry affiliate links, and there’s one direct product link. abouteBikes is funded by affiliate commission. As an Amazon Associate we earn from qualifying purchases, at no extra cost to you. How we make money.
Just want the kit? See our locks, lights and racks and panniers →
1. Range: plan for the ride home in January
Quoted range assumes the lowest assist level, a light rider, flat ground and a mild day. Half the quoted figure is a realistic working number, and cold weather takes more off that.
So do the sum properly. A 10-mile each-way commute is 20 miles a day. A bike quoted at 60 miles gives you about 30 in practice, which covers it with room to spare. A bike quoted at 40 gives you about 20, which means charging at both ends in summer and a nervous last mile in winter.
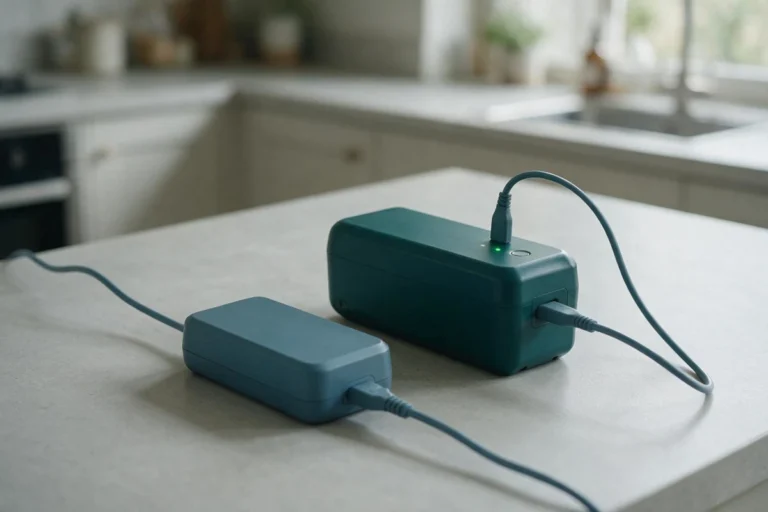
If you can charge at work, the numbers get easy. Ask first. Some buildings ban lithium batteries indoors, and a charger under your desk is the kind of thing facilities teams notice. Our battery explainer shows how to read the watt-hours on your pack, why range drops covers the cold-weather effect, and our guide to charging safely covers where and when to plug in.
2. Lights you can see by
Even if your commute is in daylight now, it won’t be in December. Integrated lights that run off the main battery are fine for being seen and weak for seeing, and they die when the battery does.
A commuter needs a front light that can light an unlit stretch at 20 mph, a rear light bright enough to run in daylight, and a small spare in the bag. Our pick is the NiteRider Lumina Pro 1300 and Omega 330 set, with the Cygolite Dice as the backup. If every road on your route is lit, the Ascher set costs far less and is honest about what it does.
Charge the lights when you charge the bike. A light you plan to charge on Friday doesn’t get charged on Friday.
3. Two locks, and a plan for home
A commuter bike is parked in the same place at the same times every weekday, which is exactly the pattern a thief looks for. Carry a strong U-lock for the frame and rear wheel and something for the front wheel. The Kryptonite New York Standard is our default. If the bike sits outside all day in a city center, the Hiplok DX1000 is built to wreck angle grinder discs, and its six pounds are the price.
Take the battery into the office if it comes off. It’s the most expensive part to replace and the easiest to walk away with.
Most bikes are stolen from home, though, not from outside work. Our guide to keeping an e-bike from being stolen covers both ends of the commute.
4. Carry the laptop on the bike, not your back
A backpack works for a week. Then summer arrives and you get to work with a sweat patch the shape of a laptop.
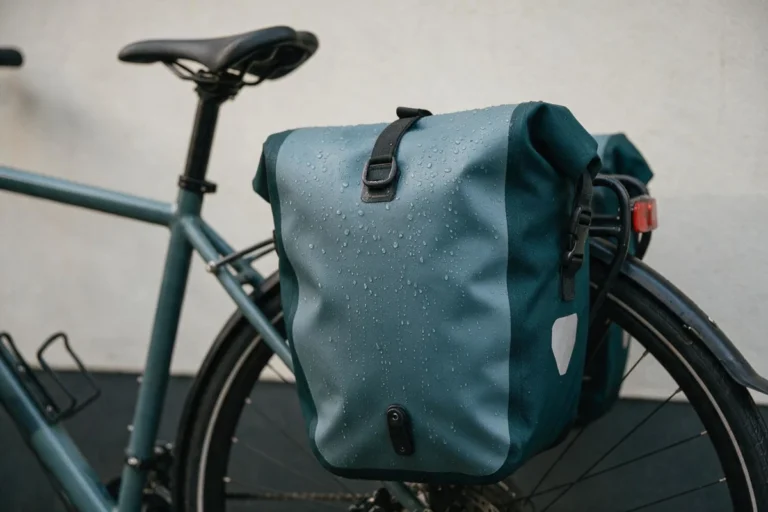
If your bike has rack eyelets, the Topeak Super Tourist DX Disc with a single Ortlieb Back-Roller City pannier is the setup that lasts years and keeps a laptop dry in a downpour. For a short commute, the KEMIMOTO trunk bag lifts off with one hand and goes to your desk with you. No eyelets, which is common on hub-motor bikes, means a seatpost rack and a 22 lb limit.
One pannier on one side feels odd for about two rides. Then you stop noticing.
5. Tires that make you late less often
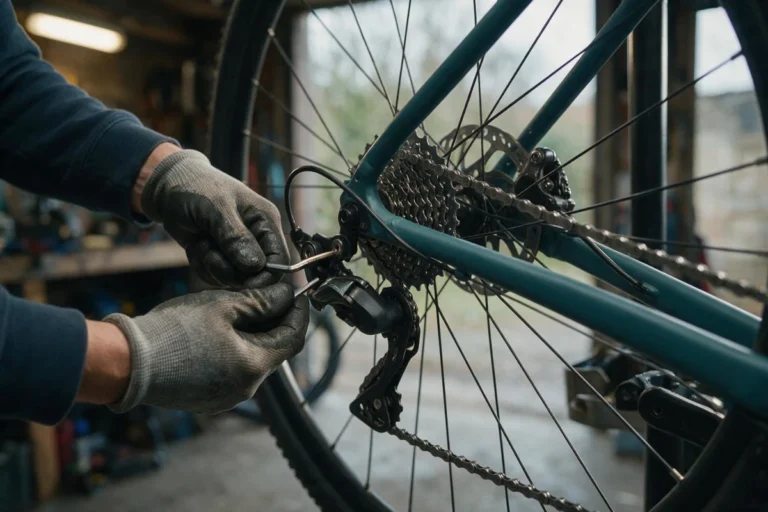
A flat on the way to work means a late arrival. A rear flat on a hub-motor bike means a very late one, because the wheel doesn’t just drop out. Our guide to fixing a flat on a hub-motor e-bike shows what’s involved, and it makes the case for prevention better than we can here.
For pavement commuting, the Schwalbe Marathon Plus is the tire people buy when they’ve had enough. It’s heavy, it’s a fight to fit, and glass stops being an event. Whatever you run, check pressure weekly with a floor pump and gauge. Soft tires cause more e-bike flats than glass does, and they cost you range on every ride.
6. Plan the route for a bike, not a car
The fastest route by car is rarely the best one by bike. Use the cycling directions in Google Maps or Apple Maps, which favor bike lanes and quieter streets, and ride the route once on a weekend before you ride it on a workday.
On a Class 3 bike, check which paths along the way you’re actually allowed on. Many multi-use paths exclude Class 3, and our e-bike classes explainer covers why that varies from town to town.
For the first few weeks a phone on the bars helps. Use a damped mount, because vibration damages the camera stabilization in modern phones and an e-bike on city streets produces a lot of it. The Quad Lock with dampener is the secure option and the JOYROOM is the cheap one.
7. Arrive looking like you drove
This is the part of commuting e-bikes fix best. On a hot morning, turn the assist up and let the motor do more of the work. That’s what it’s for, and it’s the difference between arriving warm and arriving soaked.
Fenders matter more than any clothing. On most wet mornings the spray thrown up off the road soaks you more than the rain does, and full fenders stop most of it. If your bike didn’t come with them, fit them before the fall. And keep a spare shirt at work if you can. It removes the one variable you can’t control.
The checklist
| Battery | Round trip is no more than half the quoted range, or you can charge at work. |
| Lights | A front light for unlit roads, a daylight-bright rear, and a spare in the bag. |
| Helmet | One that ranks well in independent impact testing, not just one with an e-bike sticker. See our helmet guide. |
| Locks | A U-lock for frame and rear wheel, something for the front, an anchor at home. |
| Carrying | Rack and pannier, trunk bag, or a seatpost rack if there are no eyelets. |
| Tires | Puncture-resistant, and checked weekly with a gauge. |
| Route | Ridden once at the weekend, and checked for class restrictions. |
Where to spend first
If the budget only stretches to one thing this month, buy the lock. A stolen bike ends the commute. Lights come next, because you’ll need them sooner than you think. The rack and bags can wait for your first sweaty week, which is usually when people decide they can’t.
Ready to kit out your commute?
Our picks for the three things every e-bike commute needs: a proper lock, lights you can see by, and a way to carry your stuff.
How we choose
We don’t test products hands-on. The picks on this page come from our category guides, where we read each specification properly and set it against what owners consistently report after months of use.
Every commute is different, so treat this as a starting list rather than a shopping list. The best test is the weekend dry run: ride the route with everything on the bike and see what annoys you.